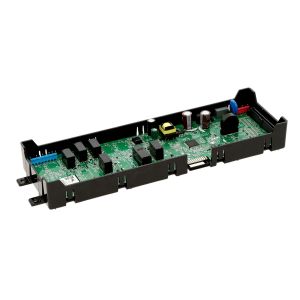
WPW10201912 Whirlpool Oven Electronic Control Board
Availability:
In stock
In stock items are shipped the same day on all orders made before 4 PM Eastern Time. Orders made after 4 PM Eastern Time, Weekend or a Holiday will ship the following business day.
Whirlpool
MFG Number
WPW10201912
Manufactured BY:
Whirlpool
Part number WPW10201912 replaces: AP6016924, 1547355, AH11750218, EA11750218, EAP11750218, PS11750218, W10201912.
Special Price
$211.99
Regular Price
$330.99
(36% off)
The Oven Electronic Control Board is a crucial component that manages various oven functions by sending signals to adjust temperature and timer settings. It connects directly to the oven's buttons enabling these adjustments.
The brands under Whirlpool include Amana, KitchenAid, Maytag, Jenn-Air, Magic Chef, Roper, and Admiral. Additionally, Whirlpool manufactures components for Sears-Kenmore and Ikea products. This particular replacement part is compatible with ovens from Whirlpool and its associated brands, such as Maytag, KitchenAid, Jenn-Air, Amana, Magic Chef, Admiral, Norge, and Roper.
To install a new control board, start by ensuring safety: turn off the circuit breaker and unplug the oven. Next, move the oven to access its rear. Remove the screws on the upper back panel to reach the old control board. Carefully note and disconnect the wires attached to it. Connect these wires to the new control board, then mount the board in place and reattach the back panel. This ensures the oven is ready for use with the new control board installed.
Write Your Own Review


00263059 Bosch Range/Stove/Oven User Control and Display Board
Special Price
$343.99
Regular Price
$457.99
(25% off)


WB27X25552 General Electric Range/Stove/Oven Control Board
Special Price
$166.99
Regular Price
$231.99
(28% off)